

Prime Edge Tile · Seattle & Eastside
Tile floors.
Beautifully laid.
Tile floor installation for kitchens, bathrooms and everyday spaces. Thoughtful layouts, careful preparation and a clean finish.
From the ground up
A considered finish.
Across every room.
From a busy entryway to a quiet bathroom, a well-planned tile floor brings the space together.
Start with the surface.
Subfloor condition, flatness and floor height shape the installation. We plan the preparation before the first tile is set.
Make the pattern work.
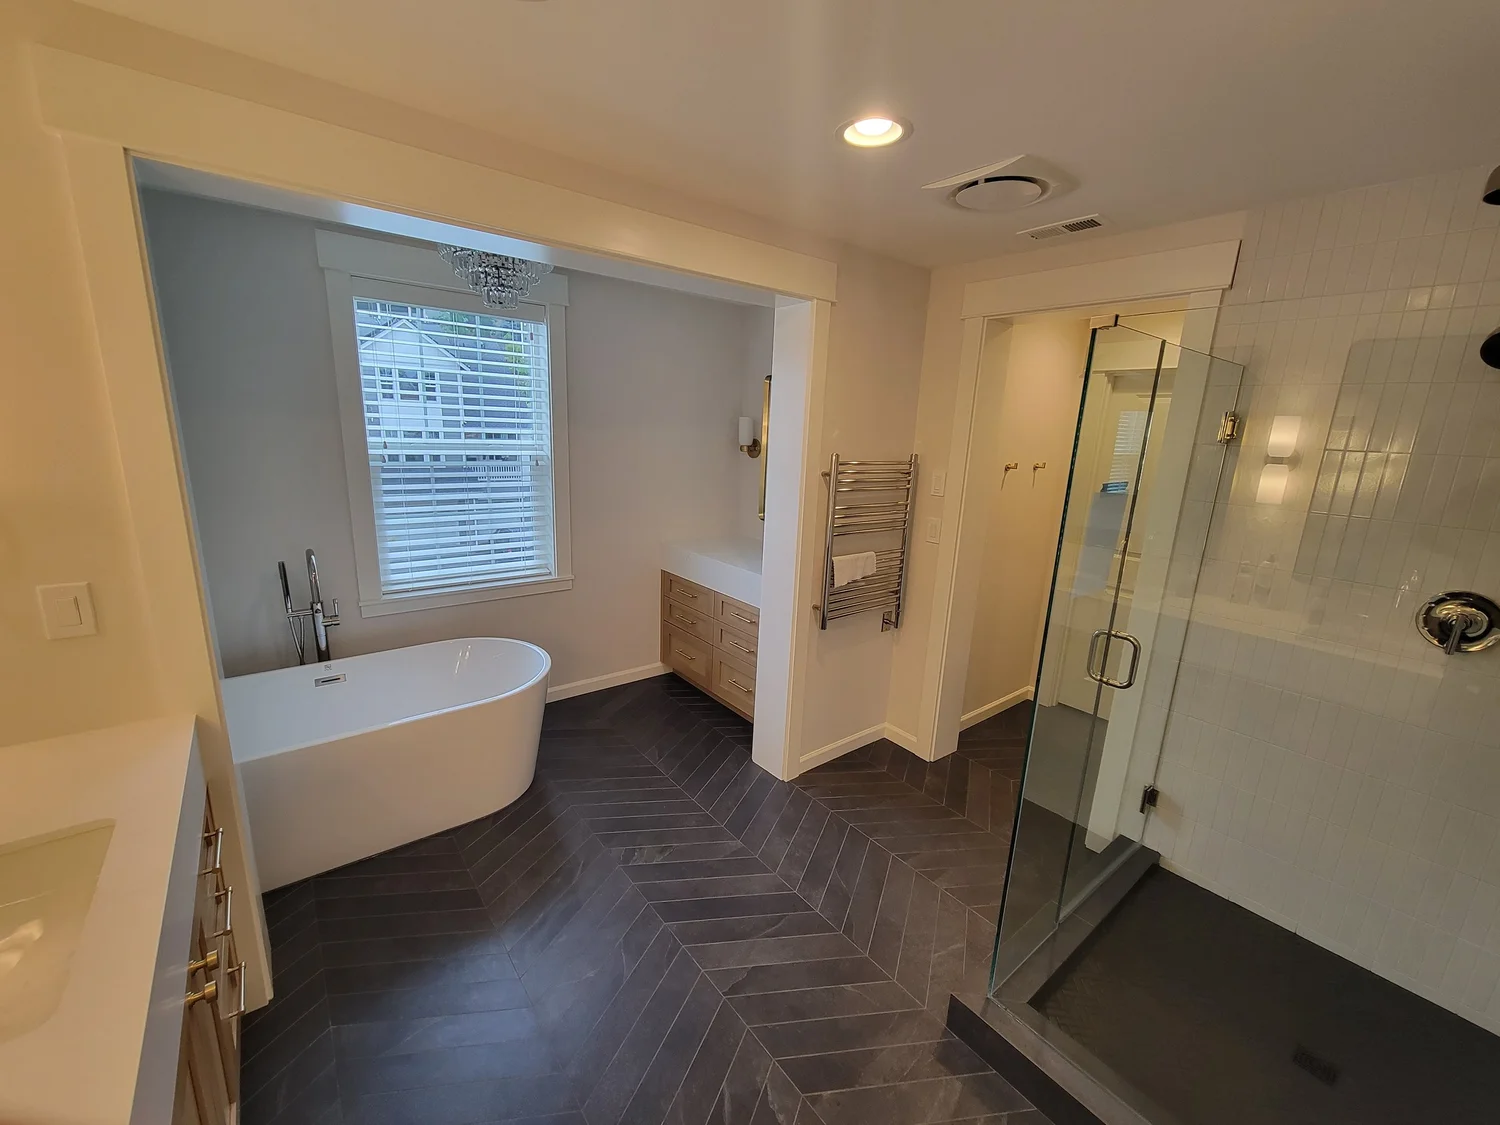
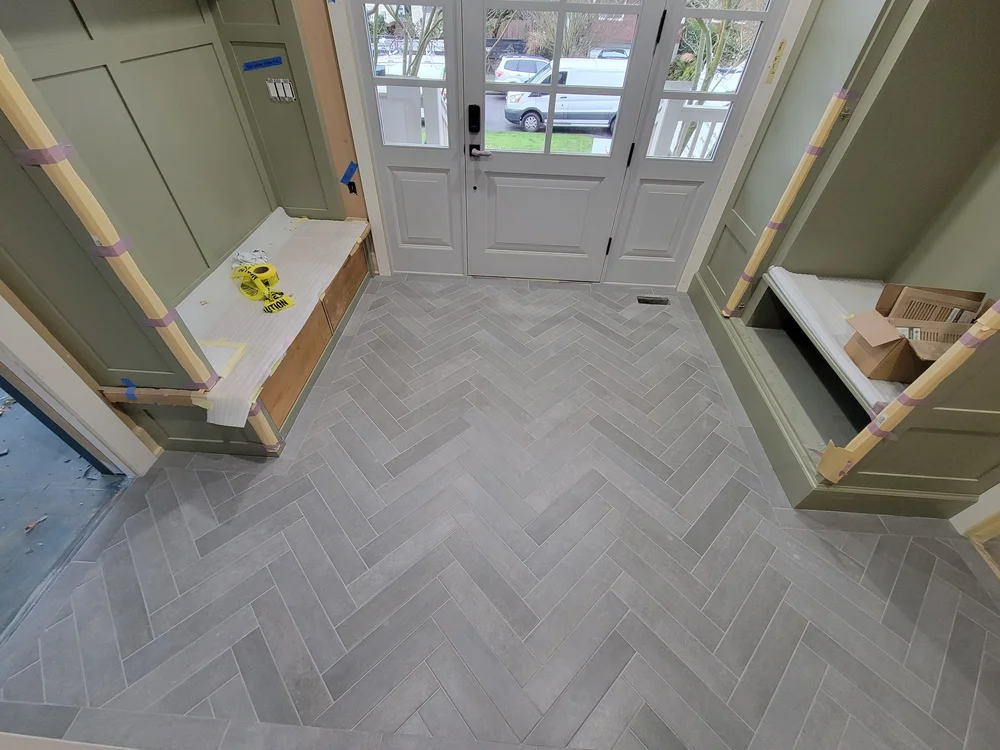
Tile direction, balanced cuts and consistent joints are considered together, so the floor feels intentional from one side of the room to the other.
Bring the edges together.
Doorways, baseboards and transitions to adjacent floors deserve the same care as the open floor area.
From our project gallery
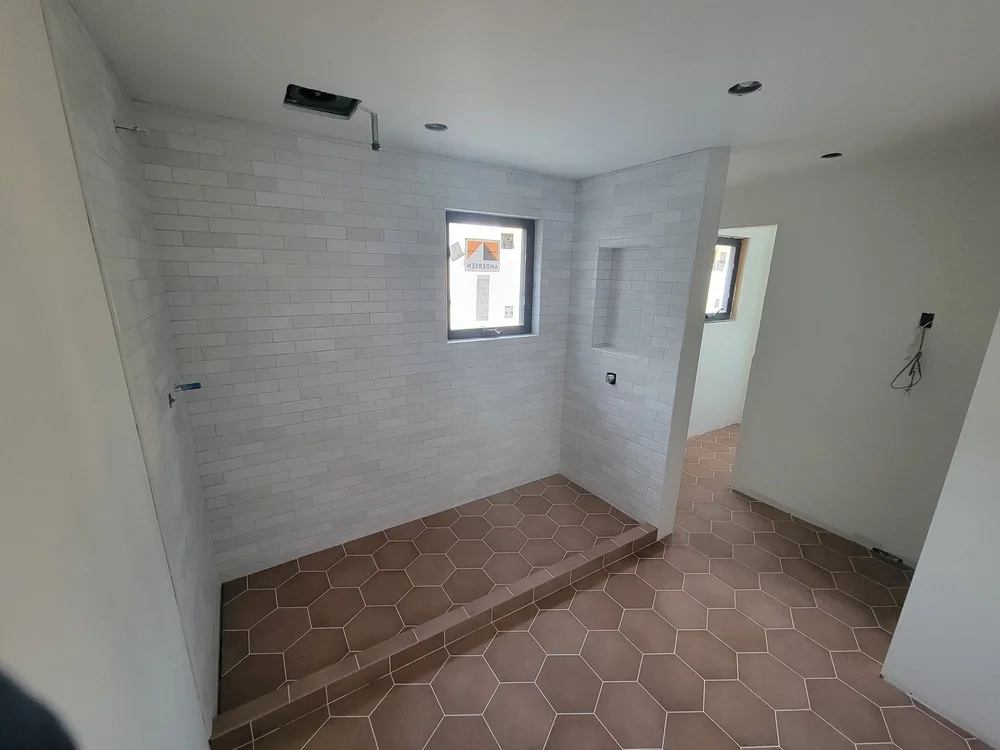
Pattern, carefully placed.
Below the surface
The finish starts
with the foundation.
The layers below the tile matter. Preparation is planned for the existing floor, the selected material and the way the room will be used.
Assess and prepare.
We check the subfloor and identify repairs or leveling needed for a suitable tile surface. Existing floor materials are removed where the installation requires it.
Plan the floor assembly.
Underlayment and uncoupling membranes are selected for the substrate and project. Floor buildup is considered alongside thresholds, doors and adjacent surfaces. Mortar coverage and movement joints are planned for the tile and its setting.
Set out before setting tile.
Layout lines, tile direction, joint spacing and perimeter cuts are worked through before installation. Large-format tile needs particular attention to a flat, prepared surface.
The finishing details
A floor that fits
your space.
Kitchens, bathrooms, entries, mudrooms and living areas each call for their own material and layout decisions.
Plan your floorPorcelain, ceramic & large-format tile
We install porcelain and ceramic floor tile, including large-format sizes such as 12 × 24 and 24 × 48 inches. We can help you consider tile types, sizes and grout colors for the room.
Heated floors, planned together
If floor heating is part of your project, we plan the tile assembly around the selected system. Electrical work, including thermostat wiring and the final connection, must be handled by a qualified electrician.
Edges, transitions & baseboards
We plan transitions to hardwood or LVP, finish the perimeter and address baseboard removal and reinstallation where needed. Grouting and the final cleanup complete the floor.
A clear way forward
From your ideas
to the finished floor.
Tell us about the room.
Send your city, a few photos, approximate measurements and your preferred timing. Share any tile ideas and the flooring you have now.
Work through the details.
We discuss the material, pattern, subfloor preparation and transitions, then prepare an estimate for the agreed scope.
Bring the floor together.
Preparation, tile setting, grouting and finishing follow the plan, with curing time considered before the floor is put back into use.
What affects the cost of a tile floor?
Tile size, the chosen layout and the condition of the subfloor all affect the work involved. We review the space and preparation needs before providing an estimate.
Do you install large-format tile?
Yes. We install large-format porcelain and ceramic tile, including 12 × 24 and 24 × 48 inch sizes. Preparation and layout are planned around the tile and the room.
How long does floor installation take?
Many residential floor installations take around 1–3 days, depending on the size of the area and the preparation involved. Repairs and required curing time can extend the schedule; we discuss timing for your project before work begins.
Can tile be installed over an existing floor?
Sometimes. We assess the existing surface, its bond and structural suitability, along with the added floor height. That assessment determines whether it can remain or needs to be removed.
Can you help me choose the tile?
Yes. We can discuss tile types, sizes, layouts and grout colors to help you choose a combination that suits the space and the installation.
Can floor heating be included?
Tell us early if you would like a heated tile floor so the tile assembly and floor height can be planned accordingly. Thermostat wiring and the electrical connection are handled separately by a qualified electrician.
Your next step
Let’s plan your floor.
Tell us about your space, tile ideas and preferred timing. We’ll help define the work and prepare a clear estimate.
Precision Tile Floor Installation
Carefully prepared surfaces, balanced layouts and clean grout lines for kitchens, bathrooms and entryways. Serving Bellevue, Kirkland, Redmond, Medina, Seattle and nearby communities.
Proper Subfloor Preparation
We check flatness, fix low spots and reinforce weak areas before installing tile. A good floor always starts below the tile.
Clean Layout & Straight Lines
Symmetry, balanced cuts and tight grout lines. We plan the layout first so the floor looks intentional, not random.
Long-Lasting Installation
Correct thinset coverage, movement joints and proper materials help prevent cracks, hollow tiles and loose edges.

Porcelain, Ceramic & Heated Tile Floors
We install porcelain and ceramic tile in kitchens, bathrooms, entryways and living areas. Planning a heated tile floor? Discuss heating layout, floor buildup and thermostat location before installation so the tile work and electrical connection can be coordinated.
• Porcelain & ceramic tile floors
• Large format tile (12×24, 24×48)
• Entryways & mudrooms
• Kitchen floors
• Fireplace hearth floors
• Uncoupling membrane installation
• Subfloor repair & leveling
• Transitions to hardwood/LVP
• Baseboard removal & reinstall
Our Floor Installation Process
Planning
Measurements, layout lines and tile pattern are prepared before installation begins.
Preparation
Floor leveling, patching and reinforcement if needed.
Installation
Full mortar coverage and consistent spacing between tiles.
Grouting
Clean grout lines, silicone joints and edge finishing.

The Foundation of a Lasting Tile Floor
Subfloor Evaluation
We check deflection, flatness and structure before installation. Tile requires a more stable base than LVP or laminate.
Leveling & Preparation
Low spots are filled and high spots are corrected so large format tile sits perfectly flat.
Uncoupling & Crack Prevention
When needed, we install uncoupling membranes to reduce stress transfer and help prevent cracks.
Correct Mortars & Grouts
Different tile sizes and materials require specific mortars and grouts. We match materials to the application.
Floor Installation Questions
-
Pricing depends on tile size, layout complexity and subfloor condition. Send photos and rough measurements for a fast estimate.
-
Yes. Large tiles require a flatter substrate and specific installation techniques which we prepare for before installation.
-
Most residential floors take 1–3 days depending on preparation and curing times.
-
Sometimes. We first evaluate height, bonding and structure before recommending this option.
-
Yes, we can suggest tile types, sizes and grout colors based on your home and lighting.
Ready to Install Your New Floor?
Send photos, approximate measurements and your city. We’ll discuss tile selection, preparation, heating plans and timing, then explain the scope of your estimate.